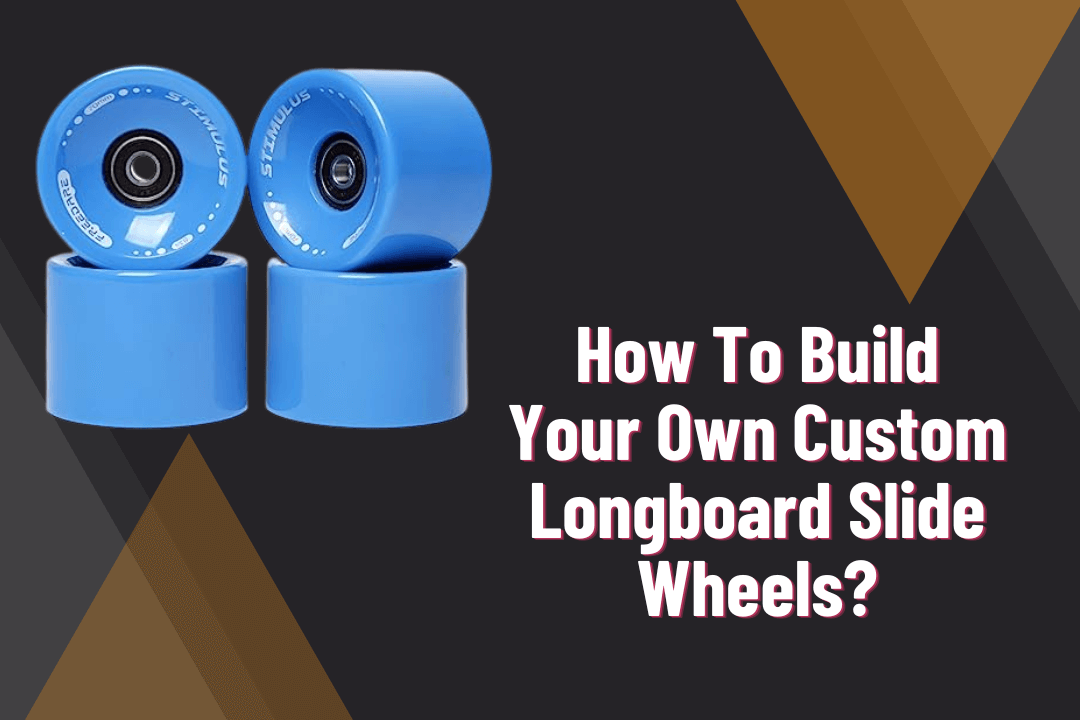
DIY Guide: How To Build Your Own Custom Longboard Slide Wheels
Indeed it is a great idea to build one’s first customized longboard slide wheels. Just by having the proper materials and following the simple DIY guide, you can easily make your best longboard slide wheels.
Materials
- Hardwood Strips
- Glue For Wood
- Polyurethane (Can Of Spray)
- Spray Paint (Black)
- Spray Adhesive
Hardware For Skateboard
- Gullwing Sidewinder II Trucks
- Clear Grip Tape
- Bones REDS Bearings
- Independent Hardware Of 1.25 Inches
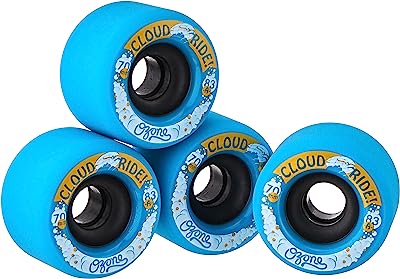
- Orangatang 4President Wheels Measuring 70MM
Tools
- Clamps
- Sandpaper
- Table Saw
- Band Saw
- Jointer
- Chisel
- Planer
- Bench vise
- Spokeshave
- Utility Knife
- CNC Machine
- Printer
- Photoshop
- Screwdriver
- Pencil
Making The Panel
- Cut the deck from a hardwood flat panel. Curt four hardwood strips long by four inches more than the total length which is 38.5 inches.
- Cut the hardwood strips flat and square. Ensure that there are three smaller strips having equal widths.
- Put up the boards in order and glue them up. Use as many clamps as you wish for clamping the boards together and leave them overnight to dry.
- Once the glue has dried scrape off the extra glue and then run the panels from the planer for flattening it. You can even use sandpaper here.
Setting The Hardware
- Place the bearings inside the wheels and also put a spacer between the bearings. Do this on the opposite side too.
- Ensure that each wheel has a bearing on every side with a spacer in between.
- Screw the nut at the end of the truck for keeping the wheels fixed in their position. You have to be careful while doing it. If the nuts are loose then it will wobble the wheels, if the nuts are very tight then the wheels won’t rotate.
Giving A Shape To The Deck
- Check Google images for your favorite longboard shape. Copy and photoshop it and then get it printed.
- Get the trucks aligned and take appropriate measurements using a ruler and pencil. Ensure it is centered and squared to the deck.
- Stick the outline of the deck on cardboard and cut out its shape.
Creating Artwork On Deck
- Carve the bottom first before carving the outer profile of the deck of the longboard. You can use X-Carve for carving. With sandpaper give it smoothness.
- Use the artwork on the panel and put a few coats of black primer. Once it is dried, use a blade and scrape off the excess paint. Make further modifications to the design on the longboard using a spray can.
Giving Shape To The Longboard Deck
- Create an outer profile of the deck. You can do so with a paper template and spray. Then paste it on the wood.
- Using a saw, shape the wooden deck into the design.
Add The Final Finishes
- Give a final rub of sandpaper on the longboard deck to endure it is smooth. Rub it gently so that the paint does not get faded. You can also add a fresh coat of spray back again if needed.
Add The Hardware
- Paste grip tape over the deck of the longboard. It is important to put grip tape because it shall give grip to your feet while you are surfing. Grip tapes have a sticky bottom so all you need to do is to place it properly on the longboard and with the palm rub it on the surface to stick it.
- Using a screwdriver check if the wheels have been put in properly.
Trial Of The Longboard
Before you take it outdoors, give it a trial run indoors preferably over a smooth surface to check if everything is perfect and you can surf perfectly. If it seems perfect, you are good to go outdoors.

I’m Tami Thompson, the founder of HIR Adventure, my team and I are passionate about outdoor adventure sports. We’re committed to offering you the finest skateboards, longboards, and snowboards.